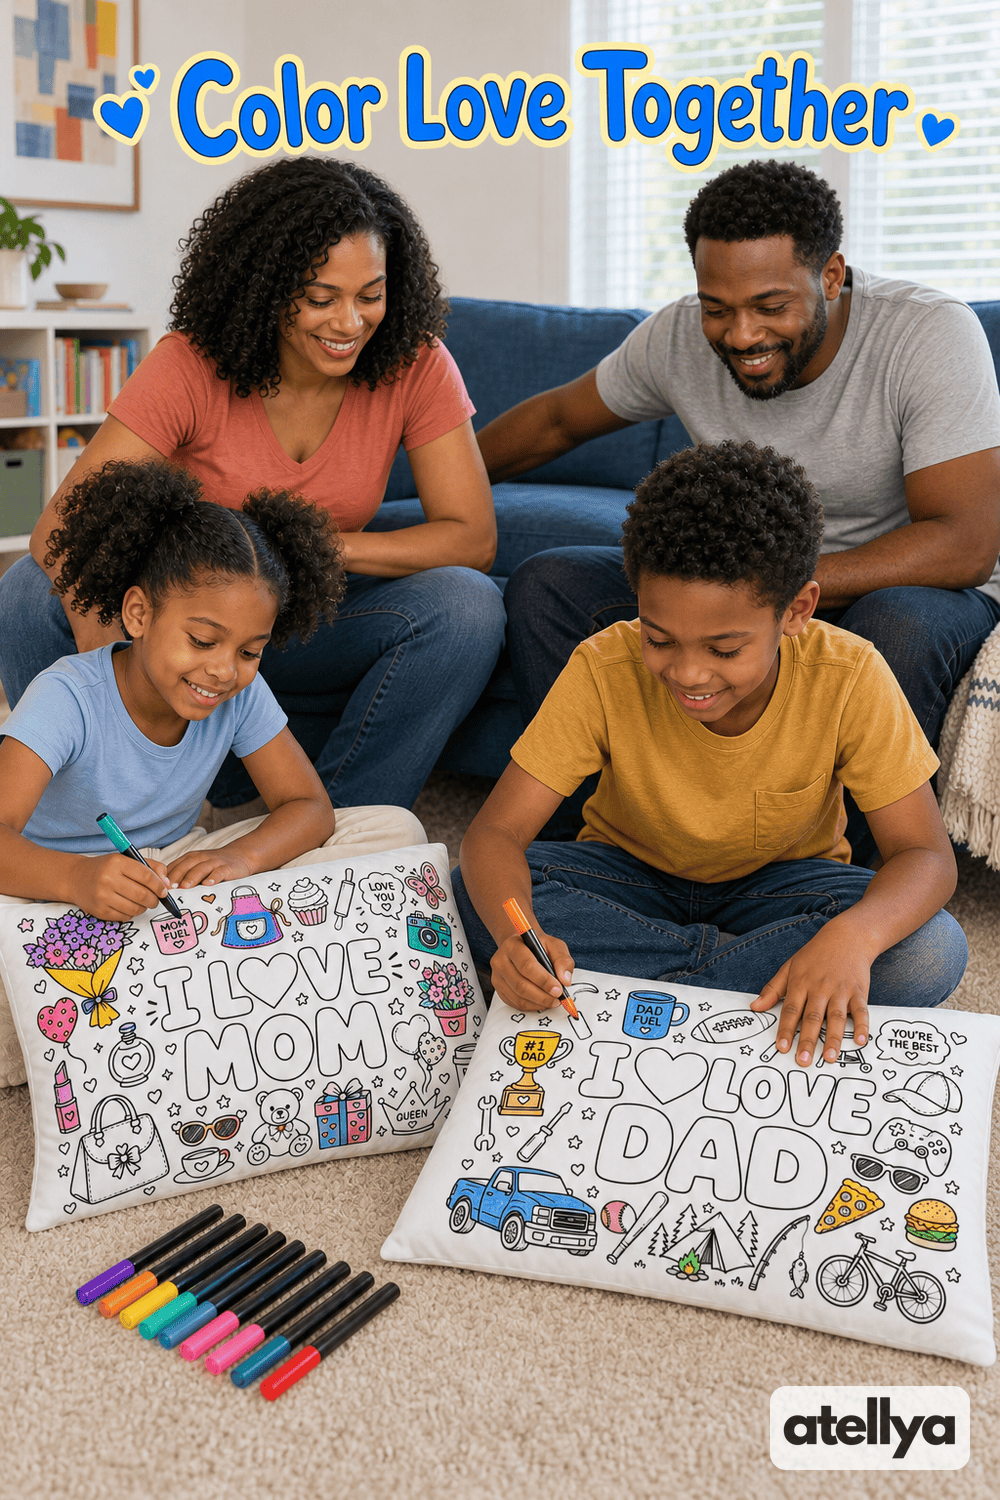
Fabric markers turn a plain pillowcase into something personal, and the process is easier than most people expect. If you have ever wondered how to color a pillowcase with fabric markers without smudges, bleed-through, or a design that ends up lopsided, this guide walks you through it one step at a time.
It works for a solo craft night, a rainy afternoon with the kids, or a gift you want to make by hand. And if you would rather skip the drawing part entirely, this color-your-own pillowcase set arrives with the designs already printed on, so you can go straight to the fun part.
What You Need Before You Start
Gather everything first so you are not hunting for supplies with a marker uncapped in your hand.
- A clean, plain pillowcase (washed and dried, with no fabric softener if you can help it)
- Fabric markers in the colors you want
- A sheet of thick cardboard or a few layers of paper to slide inside
- Masking tape or a few clips
- An iron and a thin cloth, if your markers call for heat setting
- Scrap fabric for testing colors
Washing first removes the sizing that new fabric often has, which helps color go on evenly. Skip fabric softener because it can leave a coating that makes ink sit on top instead of soaking in.
Step 1: Prep Your Workspace
Cover the table with newspaper or a plastic tablecloth. Fabric marker ink is designed to stay put, so it will not wipe off a wooden table as easily as a pencil mark would.
Slide the cardboard or paper inside the pillowcase. This does two things: it gives you a firm surface to press against, and it stops ink from soaking through to the back layer. Smooth out any wrinkles from the middle outward and tape the edges down lightly so the fabric does not shift while you work.
Step 2: Plan Your Design
If you are starting from a blank pillowcase, sketch your design first with a pencil. Keep the lines light because pencil can be hard to erase from fabric. Simple shapes work best: hearts, stars, flowers, big letters.
Think about where the design will sit. Most people place a drawing toward the open edge, so it shows when the pillowcase is on the pillow. Measure with your hand to make sure it is centered.
With a pre-drawn pillowcase, this step is already done. That is one of the reasons many parents choose a kit for kids: nobody has to worry about a wobbly outline before the coloring even begins.
Step 3: Test Your Colors
Always try each marker on scrap fabric before touching the pillowcase. Colors can look different on cloth than they do on the cap, and you will want to see how much ink flows when you press.
Notice how long you can hold the tip in one place before the ink spreads. That tells you how slowly or quickly to move.
Step 4: How to Color a Pillowcase With Fabric Markers
This is the heart of it. A few habits make a big difference.
Work from light to dark
Start with your lightest colors, such as yellow or light pink, and finish with darker ones. If a dark marker slips, you can often work around it. If a light marker slips over dark ink, it just disappears.
Use short, steady strokes
Move the marker in small, overlapping strokes in one direction. Pressing hard and dragging slowly pushes ink deeper into the fabric and can cause it to spread past the line. A light, steady touch gives cleaner edges.
Let colors dry before they touch
If two colors sit next to each other, wait a minute or so before coloring the second one. Wet ink can creep into its neighbor and turn muddy.
Outline last or first, but choose one
Some people outline everything in a dark color first, then fill in. Others fill first and outline at the end. Either works. Just stay consistent across the whole design.
Using a Pre-Drawn Kit
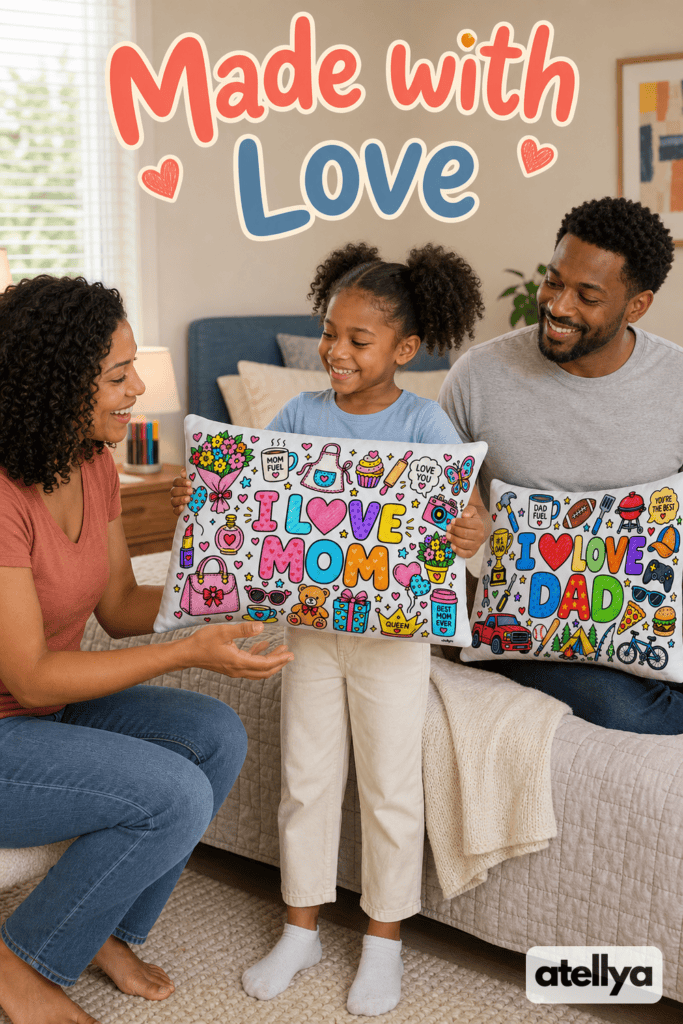
For younger kids especially, a pre-drawn design takes a lot of pressure off. The Atellya I Love You Mom & Dad set includes pre-drawn pillowcases and fabric markers, and the kids color them as a gift for their parents. You can see the full set here.
A few tips that help when children are doing the coloring:
- Sit beside them for the first few strokes and show the light, steady motion.
- Let them pick colors before they start, then lay the markers out in a row.
- Keep the cardboard inside the pillowcase the entire time.
- Take a short break halfway through. Fresh hands make neater coloring.
Remember that it is a handmade gift. A little wobble outside the lines is part of the charm, and most parents will treasure it more for that.
Step 5: Let It Dry and Set the Color
Leave the pillowcase flat until the ink is dry to the touch. Do not stack it or fold it while it is damp.
Then check the directions that come with your markers. Many fabric markers ask you to heat set the design with an iron, usually with a thin cloth between the iron and the artwork. Others have different instructions. Whatever they say, follow it closely, because setting the ink the right way is what helps the design last.
Step 6: Care for Your Finished Pillowcase
When it is time to wash, follow the care directions from your markers. As a general habit, turning the pillowcase inside out and using a gentle cycle is kind to hand-colored fabric. Wash it separately from other items the first time, in case any color is loose.
Common Mistakes to Avoid
- Skipping the cardboard. Ink on the back layer is the number one surprise.
- Pressing too hard. Light pressure keeps lines crisp.
- Rushing the dry time. Patience prevents smudges.
- Forgetting to test. A scrap of fabric saves a lot of regret.
- Crowded designs. Leave a little space between shapes so colors have room.
Make It a Family Project
Coloring a pillowcase is a lovely thing to do together. One person can handle the big color areas while another adds small details, or each child can color one side. If you are looking for more ways to craft with fabric, the ideas below are good places to continue.
Related reading: For gift projects to pair with this one, see these Mother’s Day craft ideas for kids. For more fabric fun at gatherings, check out DIY pillowcase crafts for kids’ sleepovers and parties.
Ready to try it? Skip the sketching and let the kids start coloring right away with this color-your-own pillowcase set. It includes pre-drawn pillowcases and fabric markers, ready for a gift made with love.