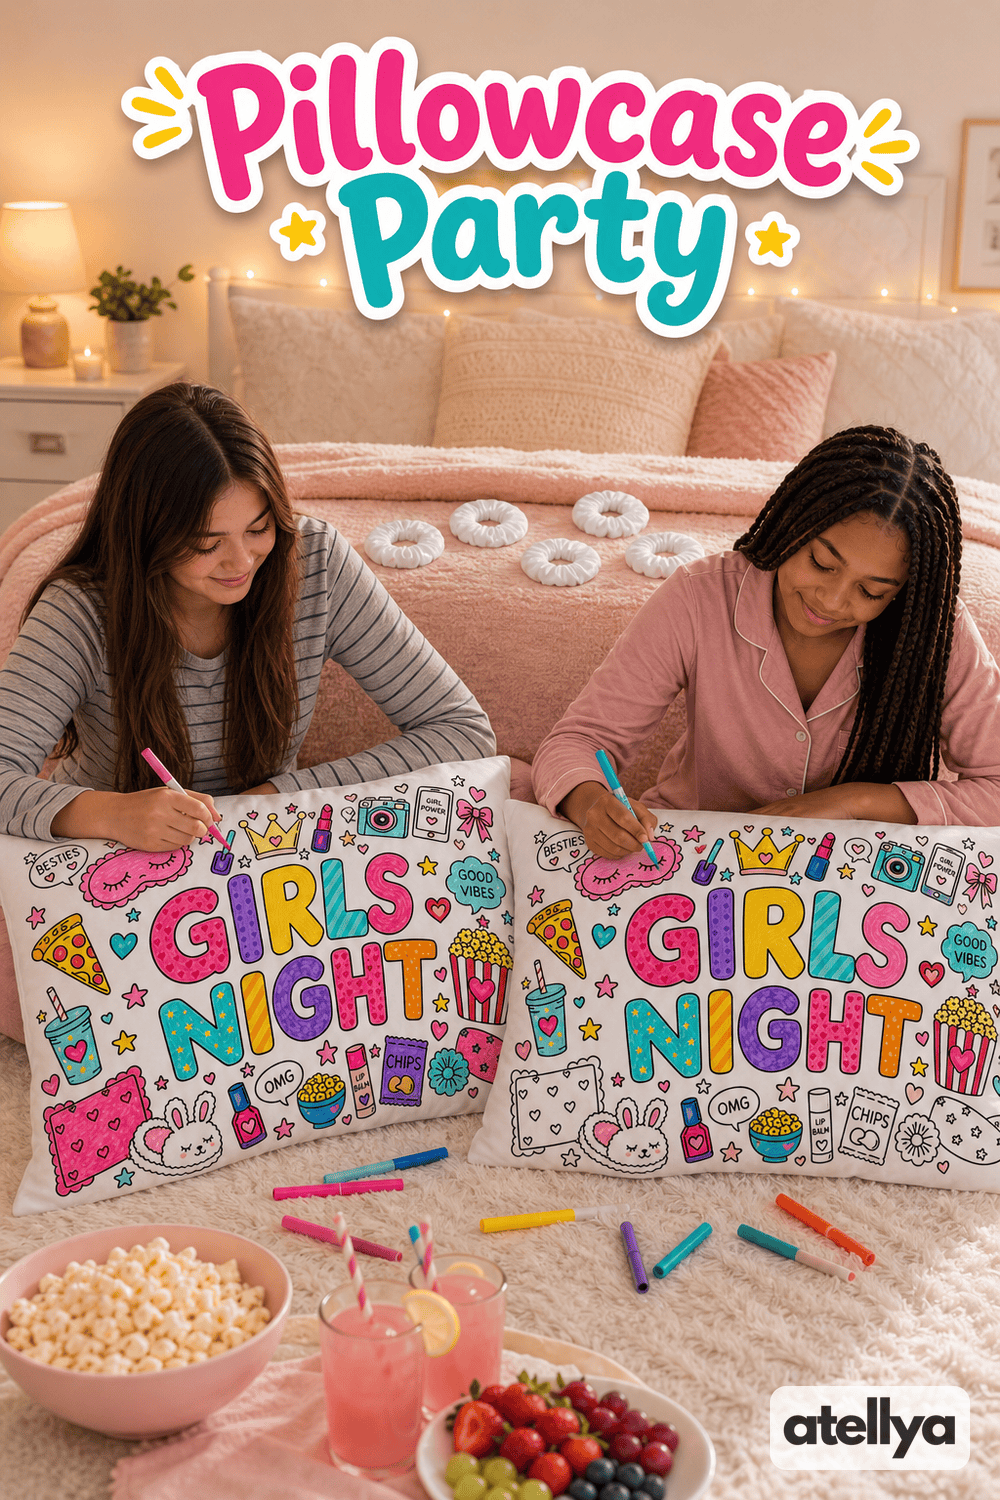
A pillowcase party is one of the simplest party formats you can host. Everyone gets a pillowcase, a set of markers and a comfy spot on the floor, and the party basically runs itself. The only thing that takes some thought is the planning.
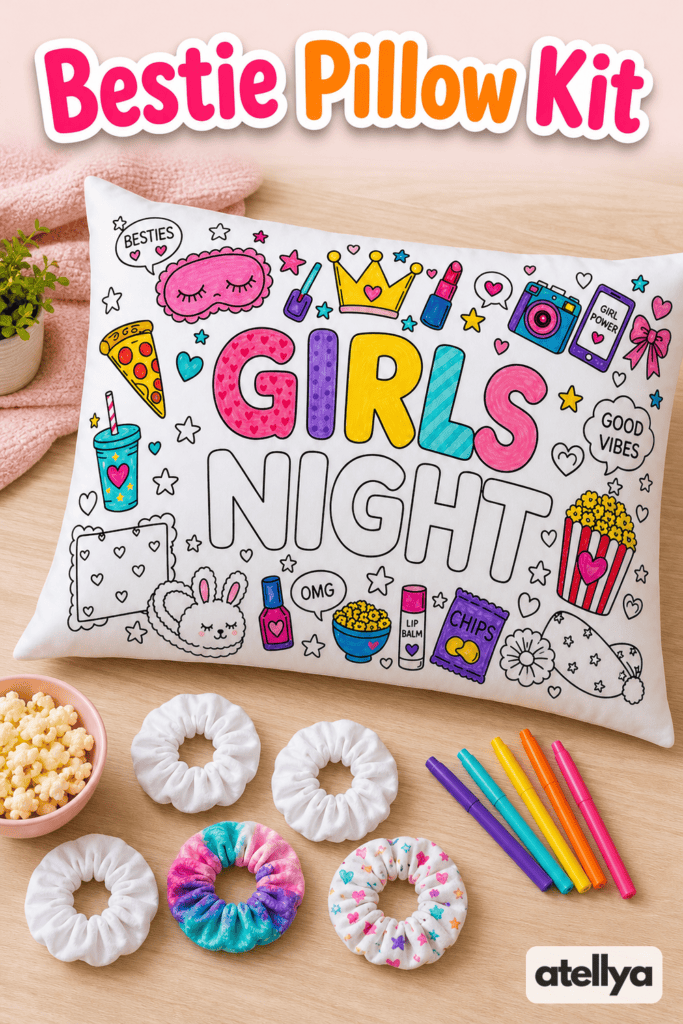
This guide walks through it in order: who to invite, how long to plan for, how to set up, and what to do when the crowd gets restless. If you would rather skip the shopping for individual supplies, a ready-made option like this color-your-own pillowcase and scrunchie kit keeps things tidy, since the designs are already drawn and fabric markers are included.
Step 1: Decide the Size and the Occasion
Start with the guest list. A pillowcase party works best with a small group, because everyone needs elbow room and you want to be able to chat with each guest. Think about who gets along, and whether this is a birthday, a sleepover, a girls night or just a rainy Saturday.
The occasion shapes the mood. A birthday needs a little more structure, such as a cake and a moment to sing. A casual girls night can be as loose as you like.
Match the supplies to the guest count
Before you send invitations, check how many projects you will need. The Atellya kit is a 5-pack, so it suits a small group. If you are inviting more people than that, plan for extras or add a second activity so nobody is left waiting.
Step 2: Build a Simple Timeline
You do not need a strict schedule, but a rough timeline keeps the energy up. Here is a simple one for an afternoon or evening party.
- Arrival and snacks (20-30 minutes): Guests settle in, drop their things and grab a bite.
- Welcome and demo (5-10 minutes): Explain the project and show how to hold the marker and color in the pre-drawn design.
- Coloring time (about an hour): This is the main event. Keep the music soft and let people chat.
- Show-and-tell (10 minutes): Everyone holds up their work and shares what they like about it.
- Cake, games or a movie: Finish the night however you like.
The coloring window is flexible. Some guests finish quickly and some want to keep adding details, so have a small backup activity for the quick ones.
Step 3: Set Up Your Pillowcase Party Space
Good setup prevents most of the stress. Think about three things: surfaces, lighting and mess.
Protect the surface
Fabric markers can be tricky on furniture and carpets, so cover your work area. A plastic tablecloth, some old sheets or a few layers of paper work well. If you are coloring on the floor, lay down something wide enough for each guest to stretch out.
Give each guest a stable base
Fabric is soft and slides around while you draw, so a firm surface underneath helps. A large book, a clipboard or a flat piece of cardboard slipped inside the pillowcase gives guests a solid base to color on.
Light the room well
Good light makes coloring easier on the eyes. Natural light is best, but a couple of lamps do the job in the evening.
Step 4: Stock the Table
Keep supplies simple and within reach. Here is a basic list:
- One pillowcase per guest, plus the markers that come with the kit.
- A pencil and scrap paper for guests who want to test colors or plan their design.
- Paper towels or wipes for quick cleanups.
- A tray or box to carry finished pieces to a safe spot.
- Name tags or sticky notes so the pillowcases do not get mixed up.
This is where a ready-made set earns its place. The Atellya color-your-own pillowcase kit is made for sleepovers, parties and girls nights, and it arrives with pre-drawn pillowcases and fabric markers, so your supply list gets much shorter.
Read the instructions that come with your kit before the party, and follow any directions on the packaging for use and care. That way you can answer guests’ questions with confidence.
Step 5: Keep the Fun Going
Once the coloring begins, your job is mostly to keep the mood relaxed. Offer a few ideas for guests who feel stuck: color a pattern, pick two favorite shades and repeat them, or let a friend choose a color to try. There is no wrong way to do it.
Add a little friendly challenge
If your group likes a bit of playfulness, try themed rounds. Pick a color palette for everyone to use, or ask each person to choose a mood, like “cozy” or “sunny,” and color to match. The results are usually fun to compare.
Snacks that do not make a mess
Keep snacks away from the coloring area, or choose neat options. Grapes, pretzels and crackers are far less risky than anything sticky or saucy. Set a small snack table nearby so guests can take a break without carrying food across the project.
Step 6: Plan for the Finish
When the pillowcases are finished, give them a safe place to rest. Lay them flat somewhere out of the way until the party ends, and check the kit instructions for any steps needed to finish them before use.
It is also nice to take a group photo with everyone holding their creations. If you have a wall, a blanket or a string of lights to use as a backdrop, even better. These pictures tend to become the keepsake of the day.
Tips for a Smooth Party
- Do a test color on the pillowcase fabric or an edge area first, if the instructions suggest it.
- Have an adult nearby to help with questions, especially with younger guests.
- Keep the background music mellow so people can talk.
- Send a quick message to parents with the start and pickup times.
- Take a deep breath. The party does not have to be perfect to be good.
Related reading: For more project ideas, see these DIY pillowcase crafts for kids’ sleepovers and parties, and pair your coloring session with a few ideas from 20 Girls Night In Ideas That Are Actually Fun.
Ready to try it? Pick up the Atellya Girls Night color-your-own pillowcase and scrunchie kit and your pillowcase party is basically planned. Add snacks, music and good friends, and you are set.